It was now time to move back to using Photoshop in order to give some texture to my model. I opened my rendered UVW Map as I will use this to guide my painting. I created a new layer and named it guide; I then chose bright blue as this will stand out within the texture. I then chose fill to add this colour to my new layer. I then selected the image and copied it. To achieve quick mask mode I selected the blue layer again and switched it to quick mask mode, and pasted the black and white image into it. This then only showed the white outline with the blue background, when zoomed out it was very hard to see the lines so I made them thicker by modifying the border under the select drop down. I changed the width of pixels to four. I then clicked the add layer mask which preserved what was selected (the lines) and removed everything else. To finalise the layer I applied the layer mask.
I went on to open my topology files so that I could take parts from the face and start to build up my texture starting with the forehead and finishing with the chin. Using the lasso tool I selected areas that I had copied and gradually built up more of the face. I also used the clone stamp and patch tool to smooth out the colour variations.
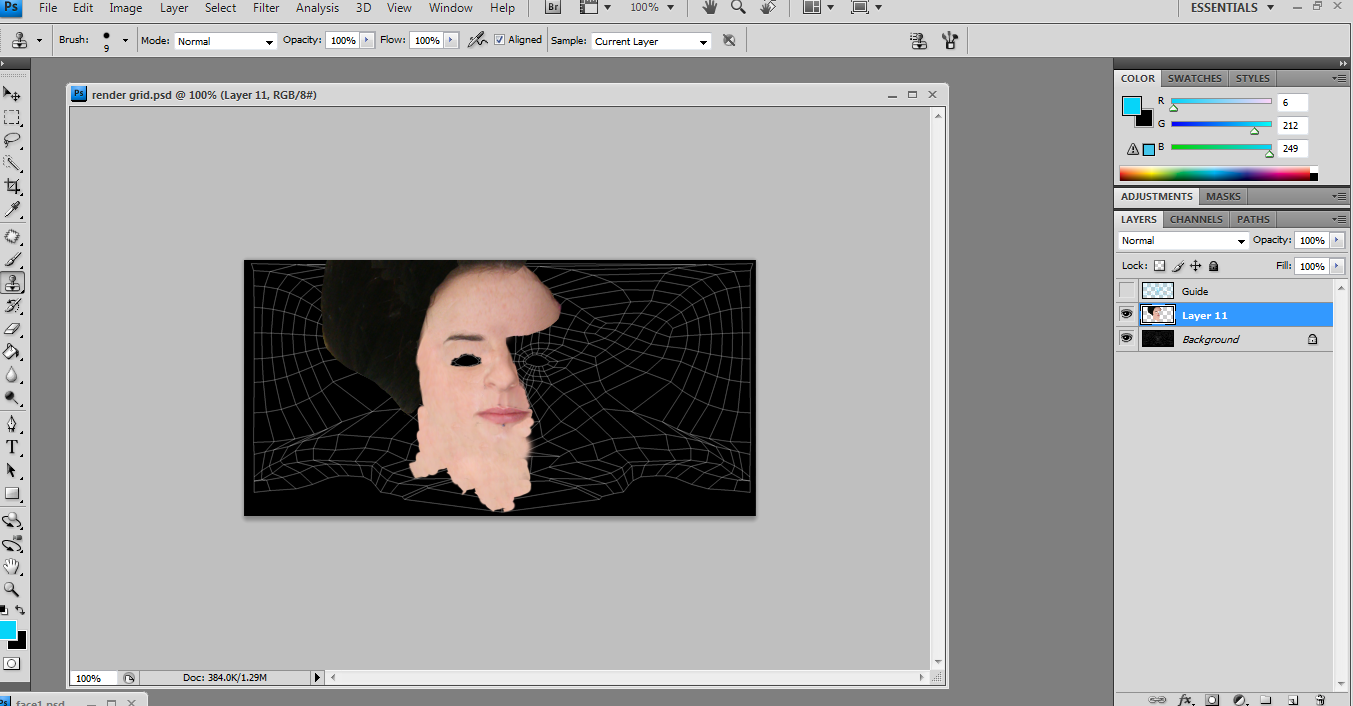
To make sure that the texture guide didn’t load when in 3D Max I created a new action and called it Texture. This meant that Photoshop would watch everything I did, I then hid the guide layer and saved, once this had save I hit stop – this meant that every time this would load it would automatically hide the guide layer I went on to check back and forth on my texture in 3D Max. It was doing this that I noticed my lip was slightly higher than it was supposed to be. To change this I used the liquify tool which is found under the filter drop down. It allowed me to smudge pixels to where I needed them to be.

No comments:
Post a Comment